
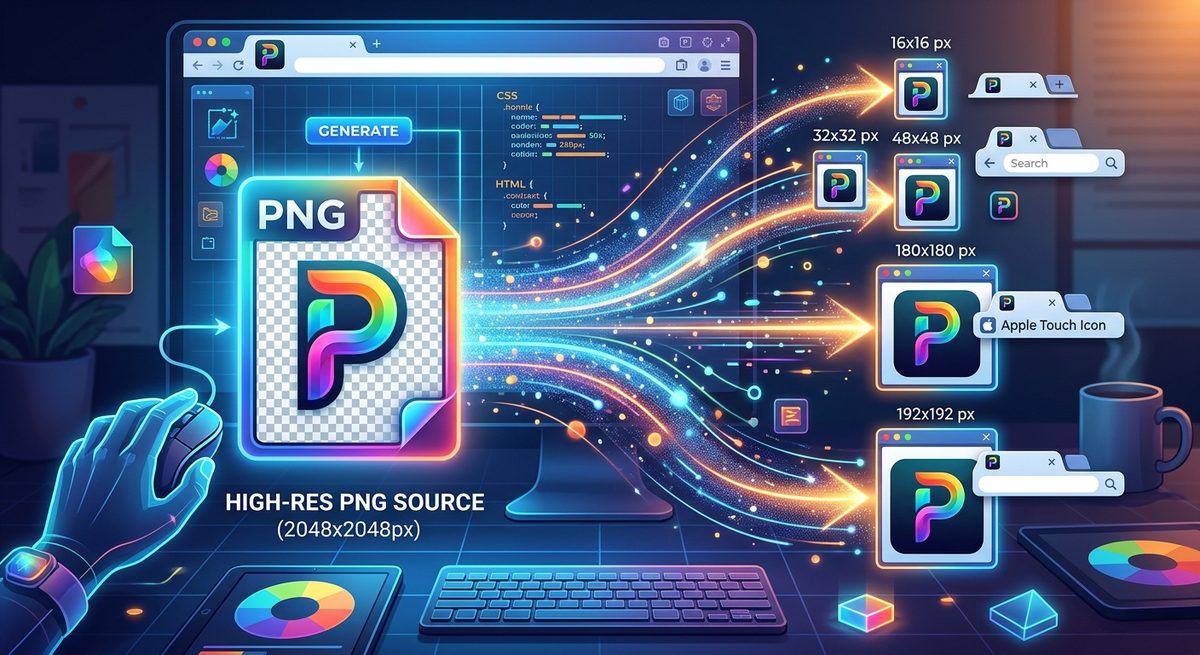
Your logo looks sharp on a landing page. Shrink it into a browser tab, and the lettering disappears. A thin outline fades. A transparent edge turns into a pale halo. These problems often begin in the source image, before a favicon generator touches the file. Preparing a clean PNG gives your favicon package a much better starting point. It also saves you from repeatedly exporting icons that share the same flaw.
Three Checks Before Generation
- Start with a square PNG exported from your best available artwork.
- Check small previews, transparent edges, and background contrast.
- Preserve your master file and inspect every generated output.
Choose Artwork That Survives a Small Browser Tab
A favicon has a different job from a full logo. It helps someone recognize your site in a crowded row of tabs, a bookmark menu, or an installed app shortcut. That job rewards a clear silhouette and a small number of strong shapes.
Start with the simplest recognizable part of your identity. A symbol, a single letter, or a compact monogram usually gives you more room than a horizontal wordmark. Remove taglines and decorative details that disappear when reduced.
Make a small preview before spending time on export settings. View your design at 16 by 16 and 32 by 32 pixels, displayed at actual size. Zooming in helps you inspect pixels, but it cannot tell you whether the icon reads clearly in a tab.
If two shapes merge at those sizes, increase their separation. If a stroke disappears, make it heavier. You may need a simplified favicon version of your logo. Keep that version alongside the original artwork so future updates remain consistent.
Build a Square Source With Enough Real Detail
A square canvas makes resizing predictable. It avoids accidental stretching and gives you control over the space around the artwork. A 512 by 512 pixel PNG is a useful working source for many favicon packages. A 1024 by 1024 export can also be convenient when your original artwork supports it. These are preparation choices, not a universal upload requirement.
Check the generator’s accepted dimensions before exporting. More pixels help only when they contain real detail. Enlarging a blurry 64 pixel image to 1024 pixels cannot restore missing edges. Return to the vector original or a higher resolution master whenever possible.
Pixel dimensions matter here. Changing a file’s print resolution from 72 DPI to 300 DPI does not add useful image detail if its width and height stay the same.
- Use a square canvas without stretching the artwork.
- Center the visible symbol by eye, since mathematical centering can look uneven.
- Leave deliberate breathing room around the mark without making it tiny.
- Remove stray pixels and unnecessary empty canvas space.
- Export a static image with the intended colors and background.
Padding needs judgment. A narrow letter may need different spacing from a solid circular symbol. Judge the result through small previews instead of applying the same margin to every design.
Handle Transparency and Color Before Conversion
PNG supports lossless image storage and an optional alpha channel for transparency, as defined in the PNG specification. Transparency is useful for a symbol that should sit directly against a browser’s interface. It also makes edge quality part of your preparation work.
Place the source over white, dark gray, and a midtone background in your editor. Look for pale fringes, dark outlines, or tiny disconnected pixels. A logo cut from a white background may retain partly white edge pixels. Those pixels can become visible against a dark tab bar.
Exporting again from clean vector artwork often fixes this more reliably than erasing the fringe by hand. Avoid flattening transparent artwork against white unless a white background is part of the intended icon.
Use an sRGB export for a predictable web workflow. If your artwork uses another color space, convert it deliberately in your editor. Simply removing a profile can change how an image is interpreted without preserving the appearance you intended.
Keep a full color PNG as your working source. Aggressive palette reduction can damage soft edges or gradients. File size optimization belongs after visual quality is settled, with another inspection afterward.
Use Conversion When the Source Actually Needs It
Sometimes the artwork arrives in another format. A designer sends a WebP asset. An old project contains only a JPEG. A downloaded image has a misleading extension. Before conversion, open the file and check what it actually contains.
Changing a filename from logo.jpg to logo.png does not convert its contents. Export through an image editor or a converter that decodes the original and writes a genuine PNG.
If you need to convert a PNG file during source preparation, keep the original and inspect the converted copy before moving into favicon generation. A free browser-based conversion service fits naturally at this handoff. It can help prepare an asset without requiring a desktop application, but the resulting image still needs your visual approval.
Conversion cannot repair every source problem. Saving a JPEG as PNG preserves the decoded image without further JPEG compression, but existing compression artifacts remain. Rasterizing an SVG can produce a sharp PNG at a chosen size, but that PNG no longer scales as vector artwork.
How Source Formats Affect Preparation
| Starting Format | Useful Property | Preparation Check |
|---|---|---|
| PNG | Stores raster artwork losslessly and supports transparency. | Check dimensions, edge quality, and actual transparency. |
| SVG | Can provide sharp artwork at your chosen export size. | Check fonts, embedded assets, and the rasterized result. |
| JPEG | May be available when original artwork is missing. | Inspect compression artifacts and any baked-in background. |
| WebP | Can contain transparent artwork. | Check whether compression has already softened the edges. |
Check Privacy Before Opening Unreleased Artwork
A browser interface does not automatically mean local processing. A service may process images on your device, send them to a server, or combine both approaches. A free service and an account-free service can still have different data handling practices.
Check the service’s privacy information before using confidential client artwork. For stricter projects, inspect network activity while processing a harmless sample. That can help you understand the observed workflow, though it does not establish every detail of a service’s storage policy.
Review metadata too. Depending on how it was exported, an image may contain text fields or other ancillary information. Remove unnecessary metadata from the distribution copy while keeping useful color information intact.
Preserve the original design file and your approved PNG separately. Use clear filenames that distinguish the editable master, generation source, and published assets. Never make a downloaded favicon package your only surviving copy of the artwork.
Generate the Package From an Approved PNG
Once the source passes these checks, favicon.now fits into the workflow as the package generation step. Its browser-first, no-account approach suits independent developers and designers who need favicon assets without setting up a paid service.
Use the approved PNG as the input, then review the package and installation markup. Generating files and installing them are separate tasks. Your site still needs to reference the correct assets, and those assets must remain accessible after deployment.
Check each output according to its purpose. An ICO file can contain multiple raster sizes. PNG files can serve touch icons and app icons. A raster PNG source does not automatically provide a true vector SVG version of your mark.
Installed app icons also need attention to cropping. The manifest’s icon fields describe image resources and their intended purposes. Marking an icon as maskable does not make its artwork safe to crop. Prepare a separate version with a suitable background and protected central artwork when that output is needed.
Validate the Download and the Published Result
Open the generated images before uploading them. Compare them with your approved source at their actual display sizes. Pay particular attention to the smallest versions, since a large preview can hide weak strokes and crowded shapes.
Inspect an ICO file with a viewer that exposes its embedded sizes. Opening it in a basic preview application may show only one representation. Check that the package contains the outputs you intend to reference, rather than assuming every filename guarantees the correct content.
- Confirm that image dimensions match their declared sizes.
- Inspect transparency and edge quality against light and dark backgrounds.
- Check that deployed asset requests succeed and return the intended image files.
- Verify that HTML and manifest paths match the deployed directory structure.
- Test browser tabs, bookmarks, and relevant mobile installation flows.
- Investigate cached icons before repeatedly changing correct source artwork.
Deployment can introduce errors that never appeared locally. A site hosted under a subdirectory may need different paths from a site at a domain root. A mistyped image path may return an HTML fallback page. Check the response contents as well as the status code.
Favicons can also remain cached after an update. A fresh browser profile or a changed asset URL can help distinguish a stale display from a faulty export. Test on the devices your visitors use, especially if installed app appearance matters to the project.
Keep a Source You Can Trust Next Time
A reliable favicon workflow starts with a source you understand. Keep the artwork simple, export enough real detail, and check every transparent edge. Use conversion for format changes, then let favicon.now handle package generation from the approved PNG.
Save that source alongside the editable artwork and a brief record of your export choices. The next redesign will be easier, and a display problem will be easier to trace. You will know whether to inspect the artwork, the generated file, or the deployed reference instead of starting over with another export.