
Image to Favicon Converter
Convert PNG, JPG, WebP, GIF, BMP, or SVG artwork into a cropped, alpha-aware favicon set with native-size previews and production HTML.
This is how a clear favicon helps your result feel recognizable.
Reduce image artwork without losing its recognizable subject
Image conversion starts with composition. A wide logo, photograph, or tightly cropped symbol may look good at 512 pixels and become unreadable in a tab. Choose contain to preserve the whole source or cover when a deliberate square crop gives the subject more visual weight.
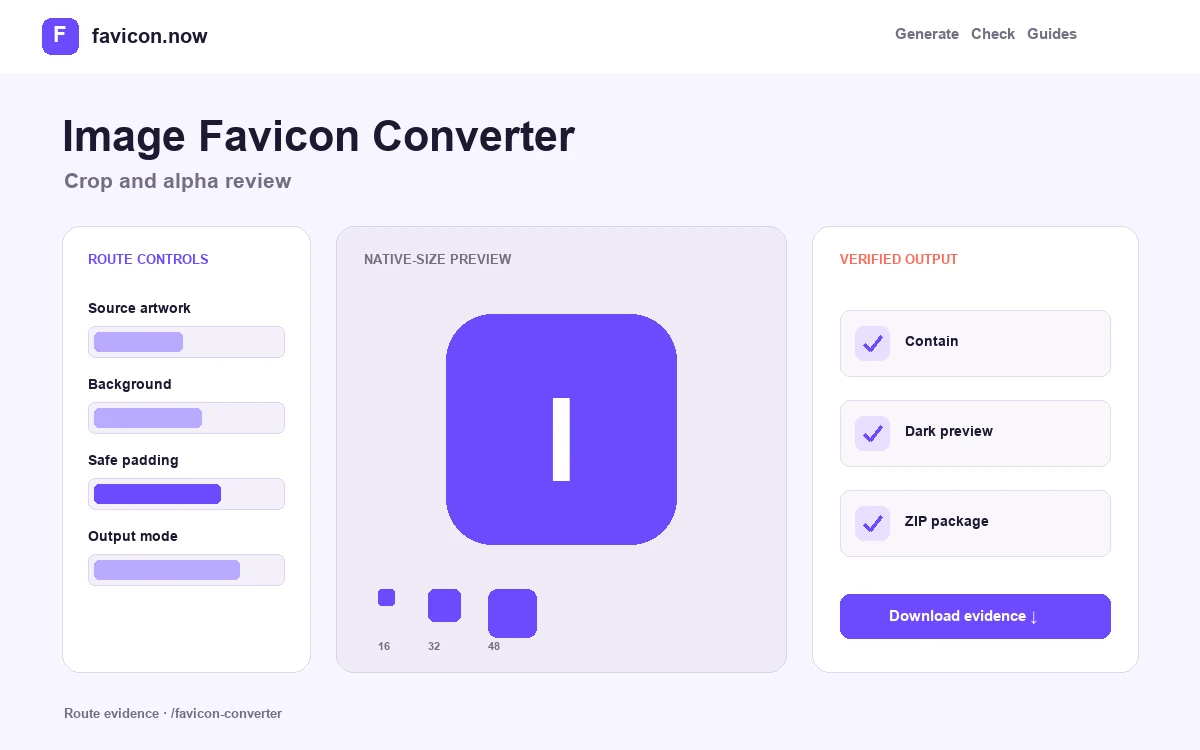
The converter normalizes the approved canvas into transparent PNGs, a multi-frame ICO, Apple touch output, and ordinary plus maskable web-app icons. Previewing those surfaces before download catches crop and contrast errors that a simple file-resizer cannot show.
Start with enough source detail
Use a square source of at least 512×512 when possible. Upscaling a small logo cannot restore missing edge detail, and JPEG compression halos become more obvious around hard icon shapes.
Treat alpha as a design decision
Transparent pixels work in PNG, SVG, and ICO, but the visible mark must survive white, charcoal, and tinted interface backgrounds. Touch and maskable icons often need a deliberate full-bleed field.
Judge the downsample, not the master
Inspect 16×16, 32×32, and 48×48 at their actual display size. If the subject disappears, simplify the crop or increase spacing rather than exporting another large source.
Record the uploaded image’s decoded dimensions, color mode, transparency, crop method, and approved canvas background. Compare contain and cover at native 16-, 32-, and 48-pixel sizes, then view the alpha edge on both white and charcoal. The selected crop should preserve one recognizable subject without depending on fine texture. Keep the original master with the exported package so future sizes are generated from source detail rather than an already reduced favicon.
Move the approved crop from upload to production
The useful source of truth is the composed square shown in the editor, not the untouched uploaded photograph or logo. Record whether the artwork used contain or cover, whether alpha was retained, and which background was approved.
Inspect the edge pixels
View the raster output on white and charcoal. A pale JPEG halo, leftover matte, or semitransparent fringe becomes much more visible when the browser places the icon on unfamiliar chrome.
Keep the original master
Archive the largest clean source with the generated package. New icon sizes should be rendered from that master rather than enlarged from a 32-pixel favicon.
Verify every declared response
After upload, request the SVG or PNG candidate, the ICO, Apple icon, and manifest URLs. Confirm their MIME types and dimensions before testing browser cache behavior.
Contain is usually safer for a complete logo. Cover is useful only when removing the outer image area makes one subject easier to recognize at 16 pixels.
Use the small-size design checklist →Image converter FAQ
What image size should I upload?+
A square 512×512 or larger PNG is the most predictable source. Larger files help only when the artwork itself contains useful clean detail.
Will a JPG become transparent?+
No. JPEG contains no alpha channel. You can place it on a chosen background, but removing a photographic background requires image editing before conversion.
Should I use contain or cover?+
Use contain for a complete logo or symbol with useful edge space. Use cover only when cropping away the source edges creates a stronger square composition.
From favicon idea to verified deployment
Follow one clear path through creation, inspection, installation, and troubleshooting.